The Complete Guide to Home Gym Flooring
Quick Answer: For most home gyms, 8 to 10mm rubber roll or tile over a solid subfloor handles everything except dropping heavy barbells. If you deadlift heavy, add a dedicated platform in the lift zone rather than thickening the whole room. Foam tiles are fine for bodyweight and yoga, poor under anything with a rack or heavy dumbbells. Upstairs rooms need mass plus decoupling, not just thickness.
Flooring is the one home gym purchase that is genuinely hard to redo, so it is worth the twenty minutes of thinking that most people skip.

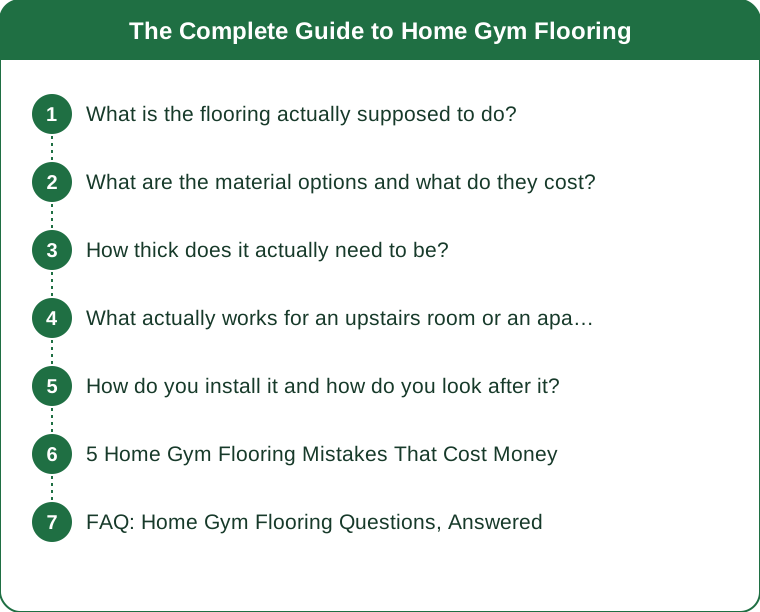
What is the flooring actually supposed to do?
Four separate jobs, and confusing them is why people buy the wrong thing.
Protect the subfloor. A loaded rack concentrates several hundred kilograms onto four small feet. A dropped dumbbell delivers a large force to a small area. Concrete tolerates this reasonably; timber, laminate, and tile do not. If your floor is anything other than concrete, this job alone justifies the purchase.
Protect the equipment. Bumper plates dropped on bare concrete crack and delaminate over time. Barbell knurling chips. Dumbbell handles bend. Rubber costs less than replacing plates.
Provide grip and stability. This one is underrated. A rack that shifts under load, or a foot that slips during a lunge, is a safety issue rather than an inconvenience. Rubber grips well; foam compresses and creates instability; a mat over carpet is genuinely unsafe under a rack.
Manage noise and vibration. The job that matters most in apartments and in houses with rooms below, and the one that thickness alone does not solve.
The critical insight: these four jobs want different things. Joint comfort wants softness. Rack stability wants firmness. A single surface across a whole room is always a compromise, which is why the best home gyms use zones - a firm general surface, with a dedicated platform where heavy things are dropped and a softer mat where floor work happens. Trying to solve everything with one thickness of one material is the most common and most expensive mistake in this category.
What are the material options and what do they cost?
Five realistic choices, with honest assessments.
Rubber rolls. Large rolls, typically 1.2m wide, cut to length. Fewer seams than tiles, which means less dirt trapped and no gaps opening up over time. The most professional result and the most awkward to install - a roll is heavy and unwieldy for one person. Best for a room you are committing to. Mid-range cost.
Interlocking rubber tiles. Puzzle-edge tiles, usually 60cm square. Far easier to handle and transport, and you can do a room alone in an afternoon. The trade-off is seams, which can separate under a rack that shifts, and which collect dust. Slightly more expensive per square metre than rolls. The right choice for most people.
Horse stall mats. The value option, and genuinely good. Typically 1.2m by 1.8m, 19mm thick, sold at agricultural suppliers for a fraction of the price of equivalent gym products. Downsides: extremely heavy - around 45kg each, so you need help - and a strong rubber smell for the first few weeks. If your budget is tight and your space is a garage, this is the best value available by a wide margin.
Foam tiles. Cheap, light, soft, and appropriate for bodyweight training, stretching, and yoga. Not appropriate under a rack, under heavy dumbbells, or anywhere weight gets dropped - they compress permanently, tear, and let racks rock. Fine as a zone, wrong as a whole-room solution.
Vinyl or turf. Turf strips are excellent for sled work and are used as a secondary zone rather than a primary surface. Vinyl is durable and easy to clean but offers essentially no impact protection or noise control.
A reasonable budget for a 3m by 4m space: horse stall mats at the low end, interlocking rubber tiles in the middle, rubber roll with a separate lifting platform at the top. Almost nobody regrets spending more here; plenty of people regret spending less.
How thick does it actually need to be?
Thickness is chosen by what you drop, not by how much you lift.
6mm: adequate for cardio equipment, bodyweight work, and light dumbbells. Protects the subfloor from scuffing and provides grip. Will not survive dropped weights.
8 to 10mm: the general-purpose answer, and where most home gyms should land. Handles a loaded rack, dumbbells up to heavy, kettlebells set down firmly, and the occasional accident. Firm enough that a rack does not rock.
15 to 20mm: appropriate if you regularly drop bumper plates from the hip or overhead, or if you are over a timber subfloor and want extra margin. Horse stall mats live here.
Above 20mm, or platforms: for repeated Olympic lifting and heavy deadlifts dropped from lockout. But the better answer at this level is usually not thicker rubber everywhere - it is a dedicated platform in the lift zone: a base of two layers of plywood with rubber on top, sized about 2.4m by 1.8m. This spreads the load across a wide area of subfloor, which is what actually protects it, and it costs less than thickening the whole room.
The error worth avoiding: too thick is a real problem, not just wasted money. Very soft, very thick flooring under a rack allows the rack to rock, makes heavy squats feel unstable, and reduces how much force you can transmit into the floor. There is a reason competition platforms are firm. If you want cushioning for floor work, put a soft mat down for that exercise and pick it up afterward, rather than building softness into the whole room.

What actually works for an upstairs room or an apartment?
This deserves its own treatment because thickness alone does not solve it, and it is where most home gyms fail socially rather than technically.
There are two kinds of noise and they need different solutions.
Impact noise - a dumbbell hitting the floor - travels through the structure. This is the one that reaches the neighbours. Rubber alone helps less than people expect because rubber transmits vibration into the joists readily.
Airborne noise - music, the thud you hear in the room - is easier and less important.
What actually reduces impact transmission:
- Mass. More mass absorbs more energy. Two 19mm mats stacked outperform one 38mm mat, because the interface between them helps too.
- Decoupling. A layer that breaks the direct path from the impact to the structure. In practice: a rubber layer, then a plywood sheet, then another rubber layer. The plywood spreads the load and the sandwich interrupts the transmission path.
- Location. Placing equipment near a load-bearing wall rather than in the centre of a span makes a substantial difference, because floor deflection is lowest at the edges. Free and effective.
What does not work: a single thick foam layer, exercise mats stacked loosely, or carpet.
And the honest advice: for a first-floor apartment, do not plan to drop weights at all. No flooring system available at a domestic budget makes dropped barbells acceptable to the person below. Design the training around it - controlled lowering, dumbbells set down rather than dropped, and machines or bands for the heavy work. That constraint shapes the equipment list more than the flooring does, and accepting it early saves an expensive lesson.
Also worth knowing: check the floor loading before installing a heavy rack and a large weight collection upstairs. A rack plus 200kg of plates plus a person is a concentrated load, and older timber floors have limits. If you are unsure, ask a builder - it is a short conversation and a cheap one.
How do you install it and how do you look after it?
Installation is straightforward and there are four things that go wrong.
Let it acclimatise. Rubber contracts and expands with temperature. Lay tiles or rolls out in the room for 24 to 48 hours before final fitting, or you will find gaps opening or edges buckling a week later. This is the step everyone skips and the one that causes the most annoyance.
Deal with the smell. New rubber, particularly recycled rubber and stall mats, has a strong odour that takes two to six weeks to fade. Ventilate hard for the first week - open windows, run a fan. Washing the mats with a diluted vinegar solution or a simple detergent before installation speeds it up considerably. In a sealed basement with no ventilation, consider virgin rubber products instead, which smell far less and cost more.
Cut properly. A sharp utility knife, a straight edge, several shallow passes rather than one deep one. Change blades often - rubber dulls them fast, and a dull blade produces ragged edges. Cut slightly long and trim; you cannot add material back.
Do not glue unless you have to. Rubber flooring in a domestic room is heavy enough to stay put under its own weight, and a floating installation can be lifted, cleaned under, and taken with you if you move. Glue only if tiles are creeping or you have a small area under heavy shifting loads.
Maintenance is genuinely minimal. Sweep or vacuum regularly, because grit under rubber abrades both the mat and the subfloor. Mop with a pH-neutral cleaner - avoid solvent-based products and anything oil-based, which degrade rubber over time. Lift the mats once or twice a year and check underneath for moisture, particularly in garages and basements, because trapped damp under rubber on concrete causes problems you would rather find early.
One addition for garage gyms: rubber over bare concrete in an unheated space can trap condensation as seasons change. A moisture barrier underneath, or simply lifting the mats occasionally through autumn, prevents the surprise.
5 Home Gym Flooring Mistakes That Cost Money
1. Buying one surface for the whole room. The most expensive mistake, because the fix is to redo it. Zones cost less and work better: firm rubber generally, a platform where you drop, a soft mat you put down for floor work and pick up after.
2. Going too soft under the rack. Cushioning feels like a benefit until your rack rocks during a heavy set. Firm under equipment, soft only where you lie down.
3. Underestimating weight and access. Horse stall mats are 45kg each and do not bend around a tight staircase. Interlocking tiles exist partly for this reason. Measure the route, not just the room.
4. Skipping the acclimatisation period. Two days of patience prevents gaps, buckling, and a re-fit. It is the cheapest step in the process and the most skipped.
5. Solving an apartment noise problem with thickness. Mass and decoupling reduce impact transmission; thickness alone mostly does not. And no domestic flooring makes dropped barbells acceptable upstairs - design around it rather than spending money trying to defeat physics.
FAQ: Home Gym Flooring Questions, Answered
Can I put gym flooring over carpet?
Not recommended for anything with a rack or heavy weights - carpet compresses unevenly and creates instability. For a bike, a treadmill, or yoga, a firm mat over low-pile carpet is acceptable. Over thick carpet, lay plywood first to create a rigid base.
Do I need a moisture barrier over concrete?
In a basement or garage, usually yes. Concrete wicks moisture, and rubber traps it, which leads to damp and odour. A polyethylene sheet underneath is inexpensive insurance. Upstairs over timber, it is unnecessary.
Is the rubber smell harmful?
The odour comes from volatile compounds in the rubber and it does dissipate. It is generally considered a nuisance rather than a hazard in a ventilated space, but if the room has no ventilation or anyone using it has asthma or chemical sensitivities, choose virgin rubber or vinyl instead and ventilate thoroughly during the first weeks. This is general information, not medical advice.
How long does gym flooring last?
Quality rubber in a home setting lasts 10 to 20 years and often outlives the gym itself. Foam tiles last one to three years under real use. This durability gap is the main argument for paying more once rather than less twice.
What if I rent and cannot modify the floor?
Interlocking tiles or loose-laid mats are ideal - no adhesive, no fixing, fully removable, and they take about an hour to lift when you move. Avoid anything glued or nailed, and photograph the floor underneath before you cover it.
TL;DR:
- Flooring does four jobs - protect the subfloor, protect equipment, provide stability, and control noise - and they want different properties, so use zones rather than one surface.
- 8 to 10mm rubber is the general-purpose answer. Add a plywood-and-rubber platform where you drop weights instead of thickening the whole room.
- Too soft is a real problem: a rack on soft flooring rocks, and heavy lifts feel unstable.
- Upstairs and apartments need mass plus decoupling, and honestly, a plan that does not involve dropping barbells at all.
- Acclimatise the material for 48 hours before fitting, ventilate hard for the smell, and lay loose rather than glued unless you must.
Budget for this before the rack, not after. It is the one part of the room you will not want to do twice.
See It in Motion
Seen here: Super High Waist Embossed Yoga Leggings with Inner Pocket — shop it on bubblelime.com
Keep Reading
This article is for general informational and styling purposes only. Fit, sizing, and product availability may vary.